
Showing posts with label Finished Projects. Show all posts
Showing posts with label Finished Projects. Show all posts
Wednesday, January 16, 2013
Haunted House - Final

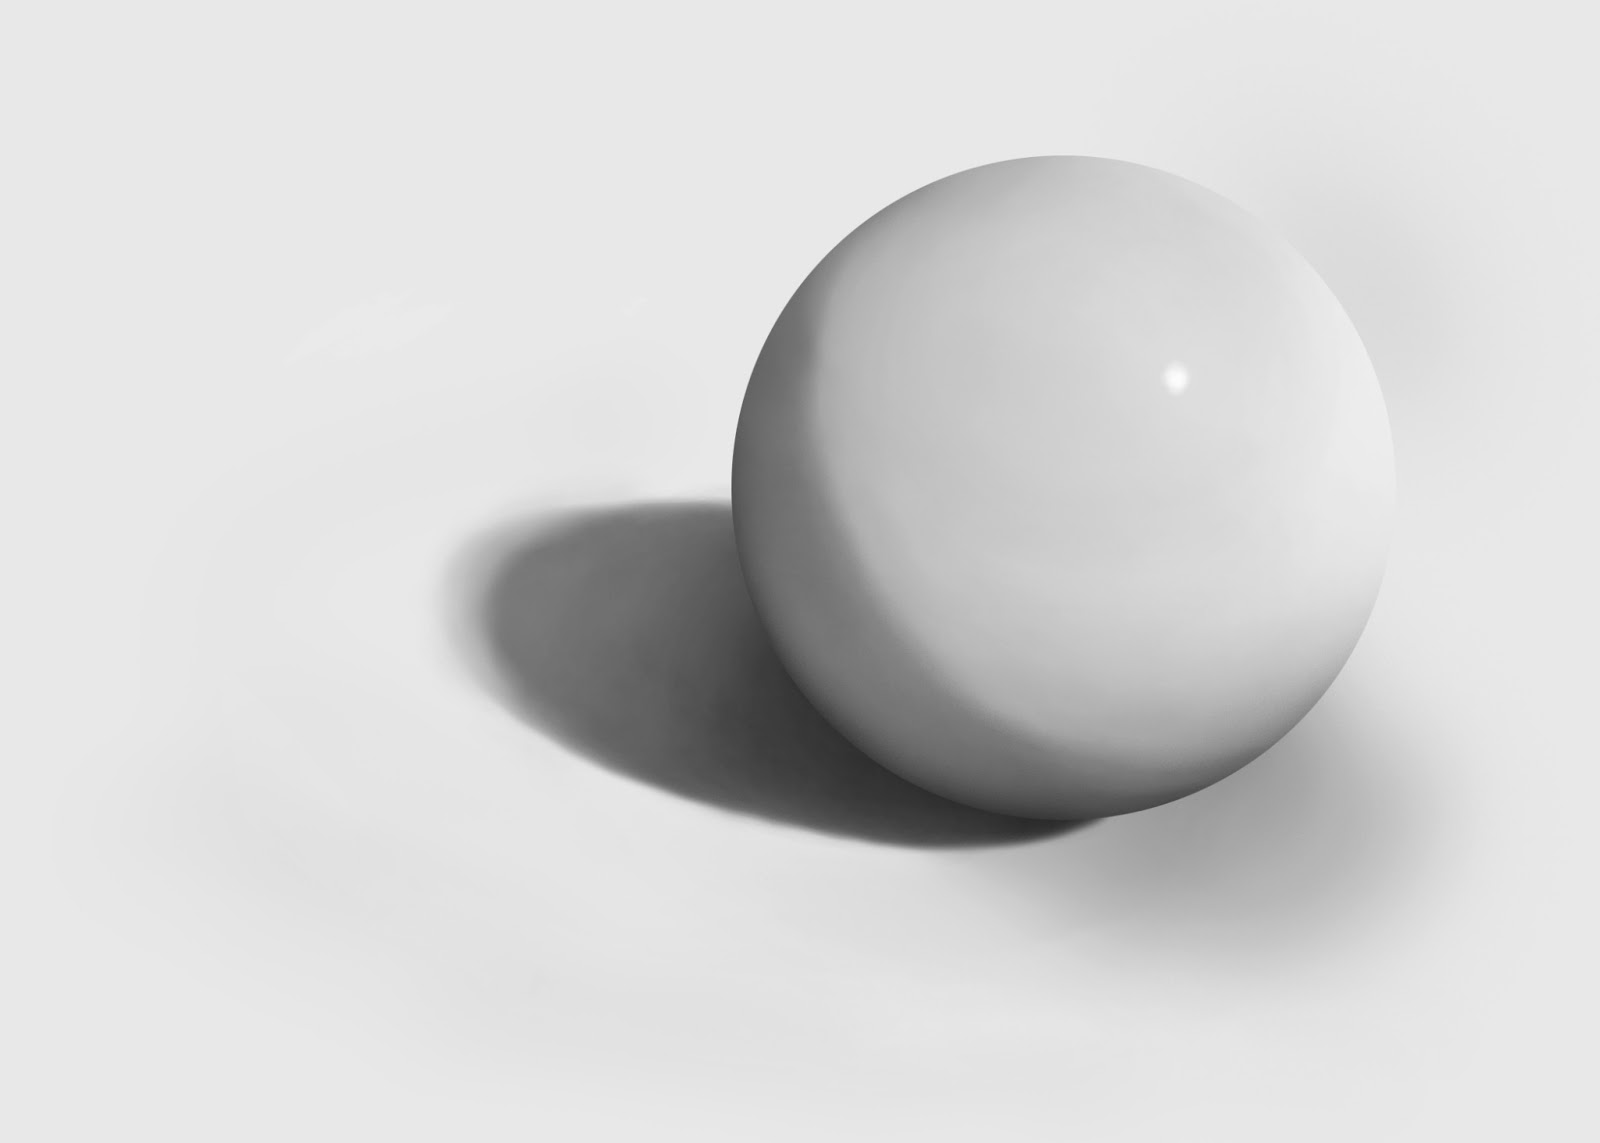
Sphere - Final
Windows Vista Aurora Effect
Tutorial: http://www.tutorial9.net/tutorials/photoshop-tutorials/creating-the-windows-vista-lighting-effect/
 |
| Original image [I chose this image because it has a lot of color which adds to the end result] |
First I applied a very significant Gaussian blur to the photo. Second, I changed the levels and stopped when I was satisfied with this purplish blend. To make the bands of light, I used the elliptical selection tool to make a selection and then colored in the edge with white using a large brush on 0% hardness. Finally, I rotated it until satisfied and repeated that process until I felt I had enough bands of light. I like how it turned out - very simple, yet very cool.
 |
| Final |
Tuesday, January 15, 2013
Colorful Swirl
Tutorial used: http://phonuts.org/tutorials/special-effects/colourful-swirl/
This is a really cool and simple effect in my opinion. While doing this I realized that I am getting extremely comfortable with Photoshop and it is getting smoother and easier to translate ideas in my head directly down to the program.
 |
| Start with clouds. |
 |
| Pixelate. |
 |
| Use radial blur of 100 twice. |
 |
| Twirled 120 degrees. |
 |
| Layer duplicated, twirled -180 degrees and blending mode turned to lighten. |
 |
| Changed the hue of both layers. |
 |
| Final result |
Friday, January 11, 2013
Space Lighting FX
Tutorial used: http://abduzeedo.com/space-lighting-effects-10-steps-photoshop-tutorial
I had some trouble with getting this one to look decent, but once I took my time and paid real attention to the instructions it wasn't that bad. I decided to make a 'Z' for my name. It's crazy how people can come up with designs like this. I guess they just might do some random things, see what turns out, and learn from it.
 |
| I started with a black background and added a soft radial gradient peeking over the top. |
 |
| Here I created a new black layer and added RGB lights (Filter > Render > Lighting Effects > RGB Lights) |
 |
| ...now with Gaussian blur. |
 |
| Another black layer was added on top with the blending set to Screen. Small stars were added here by adding Noise and altering the Levels so that only the desirable amount of specks of white were left behind. |
 |
| Now clouds were added to give a nice texture and a more gas-like appearance. Also, the color of the stars was changed to a colorful spectrum using a gradient. |
 |
| The lens flare was added to give a nice illuminating effect. Now it really starts to look like a colorful space nebula. |
 |
| To make the letter Z, I started with new layer. Then I painted in white, using a large brush on 0% hardness. Afterwards, I chopped it down on the side to create a clear line. Next step was to simply duplicate, rotate, and resize as necessary to create the Z. Done! |
 |
| Final (for some reason the stars don't look the same as in the PSD file...) |
I had some trouble with getting this one to look decent, but once I took my time and paid real attention to the instructions it wasn't that bad. I decided to make a 'Z' for my name. It's crazy how people can come up with designs like this. I guess they just might do some random things, see what turns out, and learn from it.
Tuesday, December 18, 2012
Color Blending


Using the brush on very low flow (1-5%) and a little bit of a lowered opacity (60-80%) I was able to blend the colors efficiently. I overlapped the colors and selected the resulting color in the middle to blend and continued with that process.
PS. It looks a lot better than this. The files must have lost some quality when converted to jpeg.
Brushes

Brushes

Monday, December 10, 2012
Brushes


Friday, November 30, 2012
One Point Perspective Room

Monday, November 26, 2012
One Point Perspective

Here is an example of one point perspective photography with a vanishing point. The horizon is shown in green. The natural lines of the photo leading to the vanishing point are shown in red. The vanishing point is shown in blue and seemed to be where the lines intersected.. The vertical lines are the rulers shown in light blue (I used the end of the bridge support beams and the end of the trees).
Monday, October 15, 2012
Final - Spider-Doo

The final steps I took after putting on Scooby's face, coloring it, and stealing the webbing from Spiderman's face and warping/liquifying it were to color it. I colored in the webbing to make it more natural and at times I even painted on my own webbing rather than copying and pasting it. I matched the webbing using the surrounding areas, paying attention to where the light would be shining. One trouble I had was deciding what to do around the mouth since it is so wide and goes to the left pretty far down Scooby's face. I originally had the webbing go over it but I decided to work the webbing to go around it. Overall, I feel like I did a decent job.
Tuesday, September 25, 2012
Final - Zhino

I had a little trouble with making the horns look like they were actually attached so I darkened on and around the base of them to give a more natural look in addition to changing the hue/saturation of them so that they were more black and white like the zebra rather than their original brown.
It could always be better, but I'm satisfied.
Wednesday, September 12, 2012
Final - Statue of Liberty (Lasso)


Monday, September 10, 2012
Final - Dog (Healing Brush)

Today I finished up the dog project by getting rid of the large pole and some of the other smaller things. I just used the healing brush tool, switching back and forth between the normal and replace options and I was able to do it easily enough.
Final:

Thursday, September 6, 2012
Final - Street (Healing Brush)

This is the before (top) and after (bottom) result of using the healing brush tool. I removed the poles and signs obstructing the sky and finally the car. The poles were fairly easy to remove by simply using the replace option with the surrounding sky. However, the car was a pain! It was hard for me to remove the car and at the same time make it look natural. I think I did a good job on the building and sidewalk, but not so much on the street. I used the normal option when things looked a bit rough or blotchy and that helped a bit but the car was still difficult for me.
Final - Brothers (Liquify)

The goal of this project was to use the liquify tool to change the look of this person. This is my final result. I mostly used the forward warp tool to widen the face and nose, move the lips, as well as to shorten the face and compact/move the hair around. I also raised the eyebrows and changed the shoulders with the forward warp tool. I made the eyes larger and changed the shape of the nose with the bloat tool. I also found that the twirl tool was helpful to change the look of the hair when used in small increments. At the end I used the pucker tool very lightly on the skin and some of the hair just to add some more variation.
Subscribe to:
Posts (Atom)