Thursday, September 27, 2012

SPIDER-DOO


Here are the two images I'm going to use to create "Spider-Doo" (Spiderman/Scooby-Doo). They are both high quality large pictures with similar angles and lighting so that should make it a bit easier and better looking in the end. I wanted to use different ones but the school has blocks on certain websites so I could not access them.

Tuesday, September 25, 2012

Final - Zhino

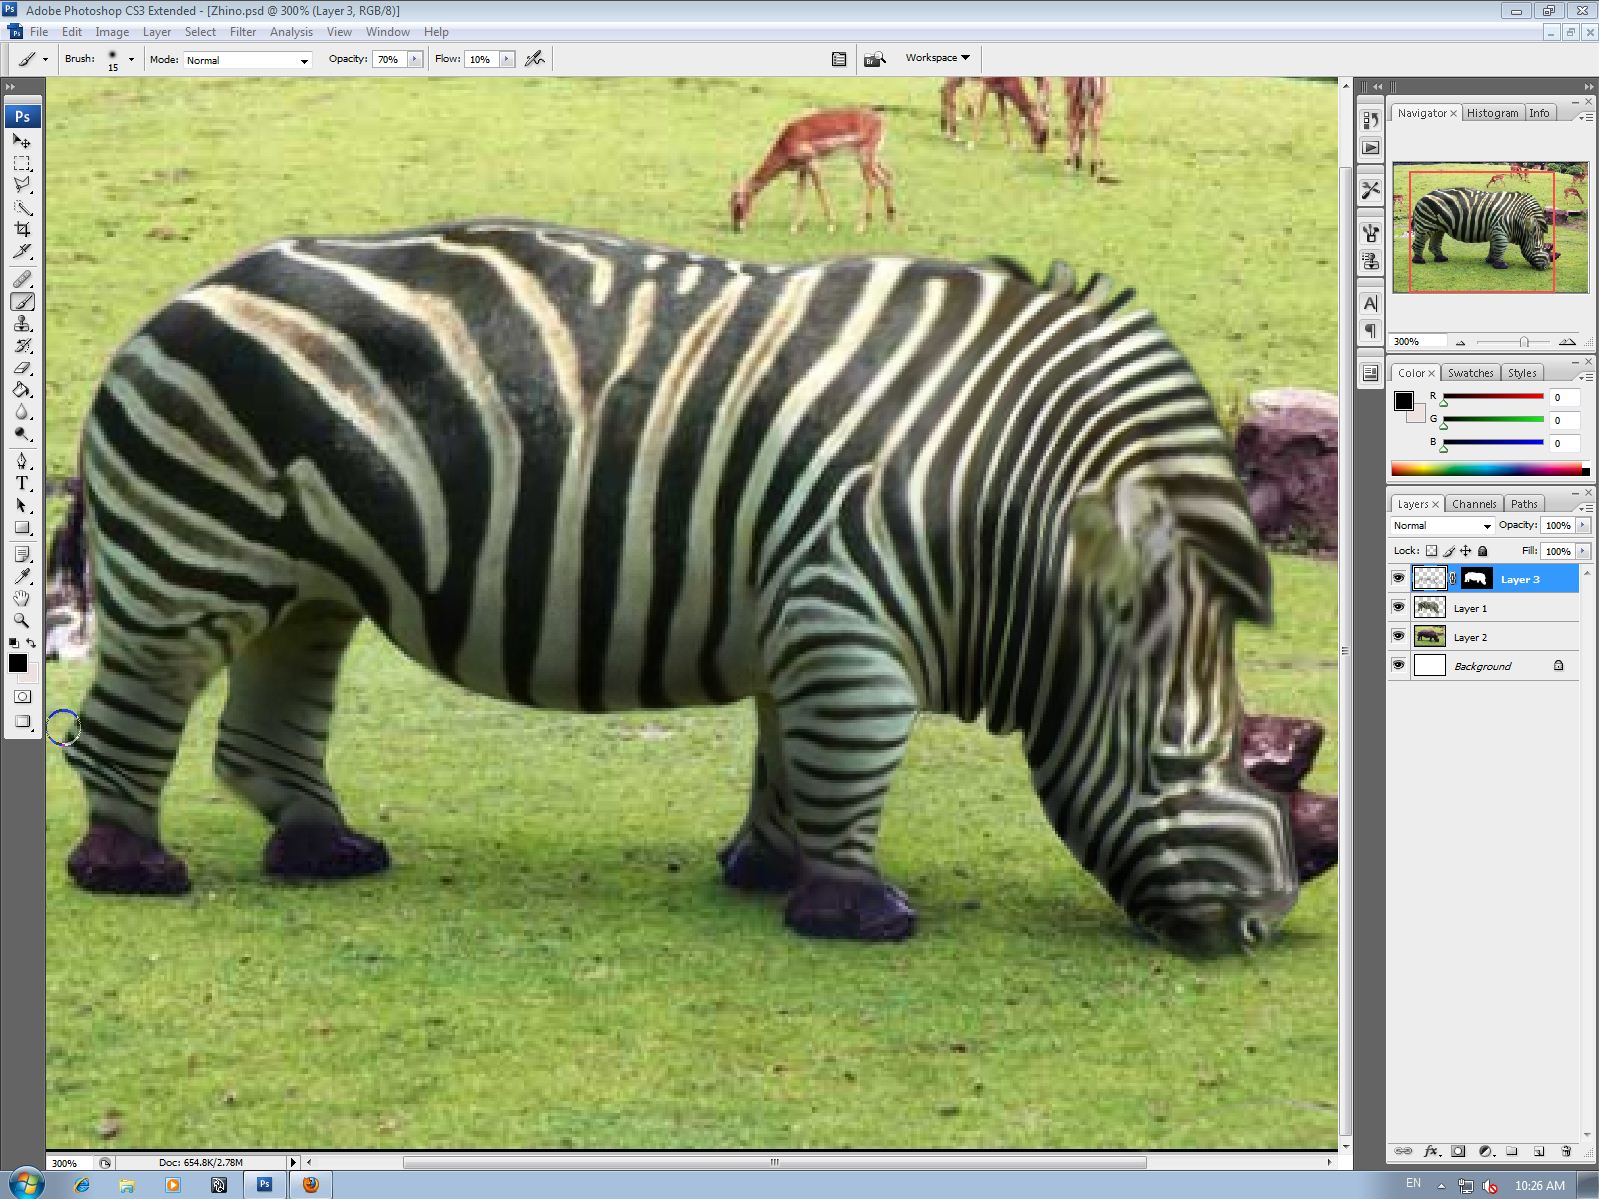
Here's my final version of the zhino. After shading a bit more I was able to get a desirable result. The shading really made him look a bit more bulky like a rhino is.
I had a little trouble with making the horns look like they were actually attached so I darkened on and around the base of them to give a more natural look in addition to changing the hue/saturation of them so that they were more black and white like the zebra rather than their original brown.
It could always be better, but I'm satisfied.

Zhino Update 2

 I've cropped the legs of the zebra so that they fit the size of the rhino. I didn't want to try to squish the legs upwards because the striping would look very unnatural. I used a feather to make the legs blend in with the rhino's feet.
After the body was finally fit I began to shade with a new layer mask. I used about 5% flow and 100% opacity a majority of the time. The main focus of shading will be to give a natural effect of bulkiness that a rhino has. Some more work on shading should make this zhino look like a much more realistic and believable creature.

Tuesday, September 18, 2012

Zhino Update

Today I worked on reworking the shape of the zebra to fit the rhino. The head took a long time to get right. I had to restart because it became too warped and the eye and ear didn't look right. Now it is looking better along with the legs as well.

Friday, September 14, 2012

Zhino (Zebra/Rhino)

 I cropped out the zebra using the polygonal lasso tool.
Now I am beginning to liquify the zebra to the shape of the rhino. I roughly warped it first so that I would not have to liquify it so much. I still have to do the legs and head/neck area as well as fixing up the shoulders because they don't look very natural as of now.

Wednesday, September 12, 2012

Final - Statue of Liberty (Lasso)


Today I finished up the statue of liberty project. It helped me to contrast it to a white background sometimes. I used the polygonal lasso tool the entire time.

Monday, September 10, 2012

Statue of Liberty (Lasso Tool)

I've just started on removing the sky today because I was working on the dog project for a while first. I'm making decent progress and will be done soon.
Today I learned there are
a few ways to remove pixels from an image (lasso, magic wand, etc.)


Final - Dog (Healing Brush)

 Today I finished up the dog project by getting rid of the large pole and some of the other smaller things. I just used the healing brush tool, switching back and forth between the normal and replace options and I was able to do it easily enough.
                  
                  Final:

Thursday, September 6, 2012

Dog (Healing Brush)

- Original image:

My progress so far:

I have taken out the telephone poles and wires, the man mowing the grass, and the object that was lying on the side of the road by using the healing brush tool. I still have to take out the large pole on the left side of the image, as well as a few other small things and I should be done.

Final - Street (Healing Brush)


This is the before (top) and after (bottom) result of using the healing brush tool. I removed the poles and signs obstructing the sky and finally the car. The poles were fairly easy to remove by simply using the replace option with the surrounding sky. However, the car was a pain! It was hard for me to remove the car and at the same time make it look natural. I think I did a good job on the building and sidewalk, but not so much on the street. I used the normal option when things looked a bit rough or blotchy and that helped a bit but the car was still difficult for me.

Final - Brothers (Liquify)


The goal of this project was to use the liquify tool to change the look of this person. This is my final result. I mostly used the forward warp tool to widen the face and nose, move the lips, as well as to shorten the face and compact/move the hair around. I also raised the eyebrows and changed the shoulders with the forward warp tool. I made the eyes larger and changed the shape of the nose with the bloat tool. I also found that the twirl tool was helpful to change the look of the hair when used in small increments. At the end I used the pucker tool very lightly on the skin and some of the hair just to add some more variation.

Monday, September 3, 2012

Hello!

Hi my name is Zakk Hartwig and this is a brand new blog I've just created for my Computer Graphics class. I'll be posting here for my progress on projects every time I have class.