 |
| I started with a black background and added a soft radial gradient peeking over the top. |
 |
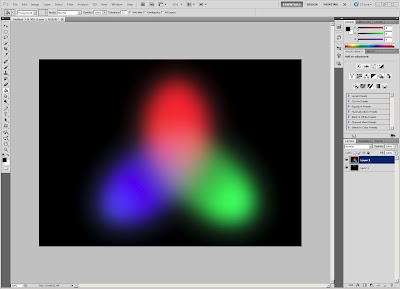
| Here I created a new black layer and added RGB lights (Filter > Render > Lighting Effects > RGB Lights) |
 |
| ...now with Gaussian blur. |
 |
| Now clouds were added to give a nice texture and a more gas-like appearance. Also, the color of the stars was changed to a colorful spectrum using a gradient. |
 |
| The lens flare was added to give a nice illuminating effect. Now it really starts to look like a colorful space nebula. |
 |
| Final (for some reason the stars don't look the same as in the PSD file...) |
I had some trouble with getting this one to look decent, but once I took my time and paid real attention to the instructions it wasn't that bad. I decided to make a 'Z' for my name. It's crazy how people can come up with designs like this. I guess they just might do some random things, see what turns out, and learn from it.


No comments:
Post a Comment